Sun's Out, Leg's Out! Am I right? The sweaters and thick wooly jumpers are away and the shorts and floral dresses are out. But sometimes it can be scary getting your bare legs out after they have been hibernating for 6 months. Which means you need to pay some serious attention to your skin, including face, arms and most importantly legs. Here are a few simple steps you can take to achieve those silky soft legs and it really isn't that hard!
Step 1 - Exfoliate
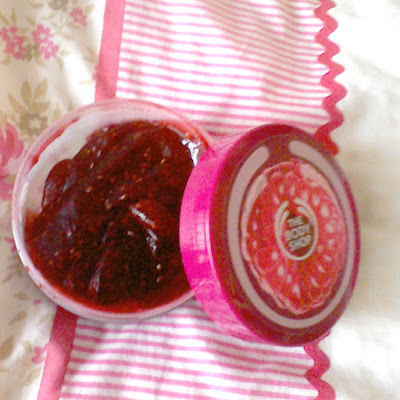
I love using TBS Raspberry Body Scrub, it gets rid of dead skin cells and leaves your legs ready for all the moisturiser you will be putting on later. Apply the scrub in circular motions to make sure you get to each part of your leg. It is also super easy to make a scrub at home, just take equal parts of olive oil and sugar! It is very simple to exfoliate, and if you do it regularly then you will see a big difference.
Step 2 - De Fuzz
To keep my legs looking fabulous I have always gone with waxing as it is the most convenient method to keep the hair away for weeks meaning you don't have to worry. This is because it removes the hair from the root, after each wax the hair grows back finer and slower. Since the age of 13 in fact I have had my legs waxed, and let me tell you it hurts. People will tell you 'oh you get used to it after a while' 'it just feels like a small pinch', lies. I am still not used to the pain of waxing, yes it is quick, yes the pain is only for a second but that second kills. I tend to get my waxing done professionally, this in the long run can be expensive with some places charging £15 for half a leg. Now I have converted to at home waxing, which is scarier than the actual pain.
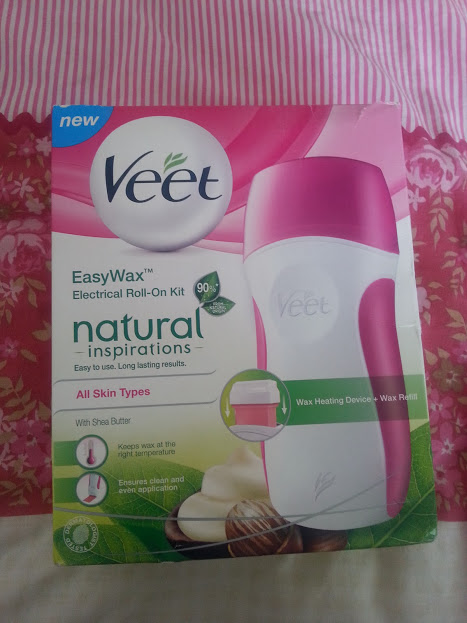
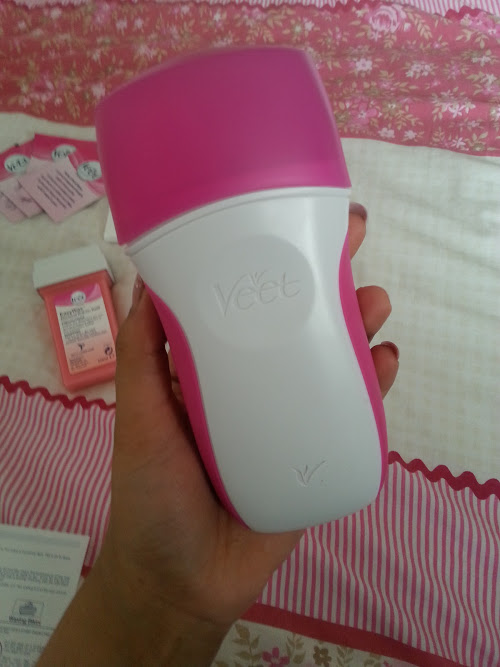
The latest gadget I have trying out is the Veet Easy Wax Roll On Kit*, it comes with the roller, a wax packet (replacement wax is available to buy), strips, wipes and a plug to charge it up. It is really easy to use as well, all you do is put the wax inside the roller and plug it in so that it charges up for 20 minutes. Then you can apply the way onto your underarms, legs and bikini line. The wax is only ready when it applies evenly + smoothly otherwise leave it plugged for longer. Apply the wax in the direction of the hair growth, place your strip over and pull. TIP: The quicker you pull the more effective.
It honestly doesn't hurt, I promise you that the more you do it the easier it become and you get used to the pain. The at home kits from Veet make life so much easier, you can do it when you want to and in the comfort of your own home.
The Other Option
Of course there are other options for removing hair, apart from shaving which I think is tiring because you have to do it every single day. The other option which isn't as scary as waxing and lasts just as long is a depilatory cream, all you do is apply the cream wait for 5-10 minutes and then remove it. The 'In-Shower' one is amazing, you can take it off using the sponge in the shower and it makes life a lot easier.
Step 3 - Lock in the Moisture
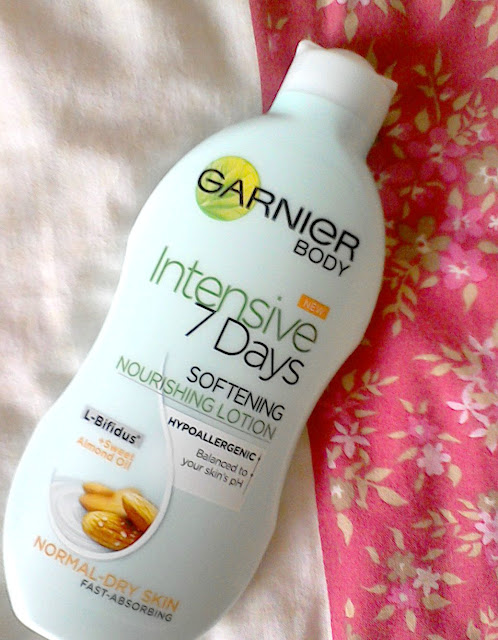
After waxing you have to be really careful, as the skin can get irritant. Try to avoid covering your legs up with tight fitting clothes it can feel very uncomfortable, and if it does feel itchy just try to ignore it. So, your legs are clean, hair free now they need to silky soft. Apply as much moisturiser as you can whenever you can, it will leave your legs looking gorgeous and if you use one with a gradual tan in then your legs will have a lovely colour to them as well. This one from Garnier is great if you have dry skin as it moisturisers your skin and keeps the soft feeling even after you stop using it.
There you have it, three easy steps to getting summer ready legs and that will leave you feeling 100% confident about showing off those pins!


No comments
Post a Comment