Cookie Policy
Privacy Policy

Savin Pennies|| Loyalty/Points Card

 Loyalty/Points Card

Welcome to another Savin' Pennies post, this is a series of posts where I give you lots of hints and tips on how to save money where ever and whenever you can! You can read my previous posts here. There are so many different rewards systems that are available out there and I am a sucker for signing up to them and receiving emails from them, the main reason why I love to shop so much is because in return I get points or even sometimes vouchers and discounts.
I am going to start with the ones that I have. 
Boots  // I think this is one of the most popular ones out there in my opinion. You get 4 points for every £1 you spend online or even instore, and these eventually add up to become vouchers that you get sent in the post, online or even in store at the little computers. You can get really carried away if you aren't careful! 
The Body Shop // At first you do have to pay £5 for this card, but if you are a body shop addict like me then it is worth every penny. With every purchase you get 10% off and you get stamps every time you shop and at certain stamps you get a gift! And they allow you treat yourself on your birthday as well.
Superdrug // In superdrug it works very different to Boots, for every 100 points you earn £1 to spend in store which will take you forever if you don't shop in there a lot or even spend very much when you go in. When you do build up some points then you can spend them on what you buy in store or even online.
Costa // This is probably my most used card in my purse, I go to costa so much as well as starbucks! For every £1 you spend you get five points I think it is and each point is worth one penny. You can eventually build it up to spend on something instore. I mean who doesn't love free food or coffee? I refuse to spend mine until I have a good amount to constantly use!
Subway // The easiest card to use, either by card or an app on your phone. You collect points with your orders and then use them to get a free sub! They also send you emails to let you know about any promotions that they have going on and offer you a treat for your birthday!
Starbucks // Another coffee card, but this works very differently to Costa and many others. For this is like a debit card you have to put money on it like a card or voucher, and then you spend it in store and eventually you build it up and you get ranked and earn rewards. They also emails you about what they have going on. 
Let me know what ones you have and I may just have to get it!

Recipe||Eggless Chocolate Cake ♥

Eggless Chocolate Cak


I thought I would mix things up a little bit on my blog and share with you a recipe that I have been using very recently to make a 'Chocolate Cake' but there is something special about this one and that is that it is eggless! My family and I don't keep or eat eggs in the house, so when it comes to baking we substitute things and I have tried so many recipes in the past that have just been to difficult to make or even don't work. There are so many recipes you can find for cakes these days, type want you want to bake in to google and i can guarantee you will find something! I hope that I will be doing more of these recipe style posts in the future, where I basically take you all along with me - enjoy and don't get too hungry!
This recipe can be made not chocolate, by not adding the coca.
Eggless Chocolate Cak

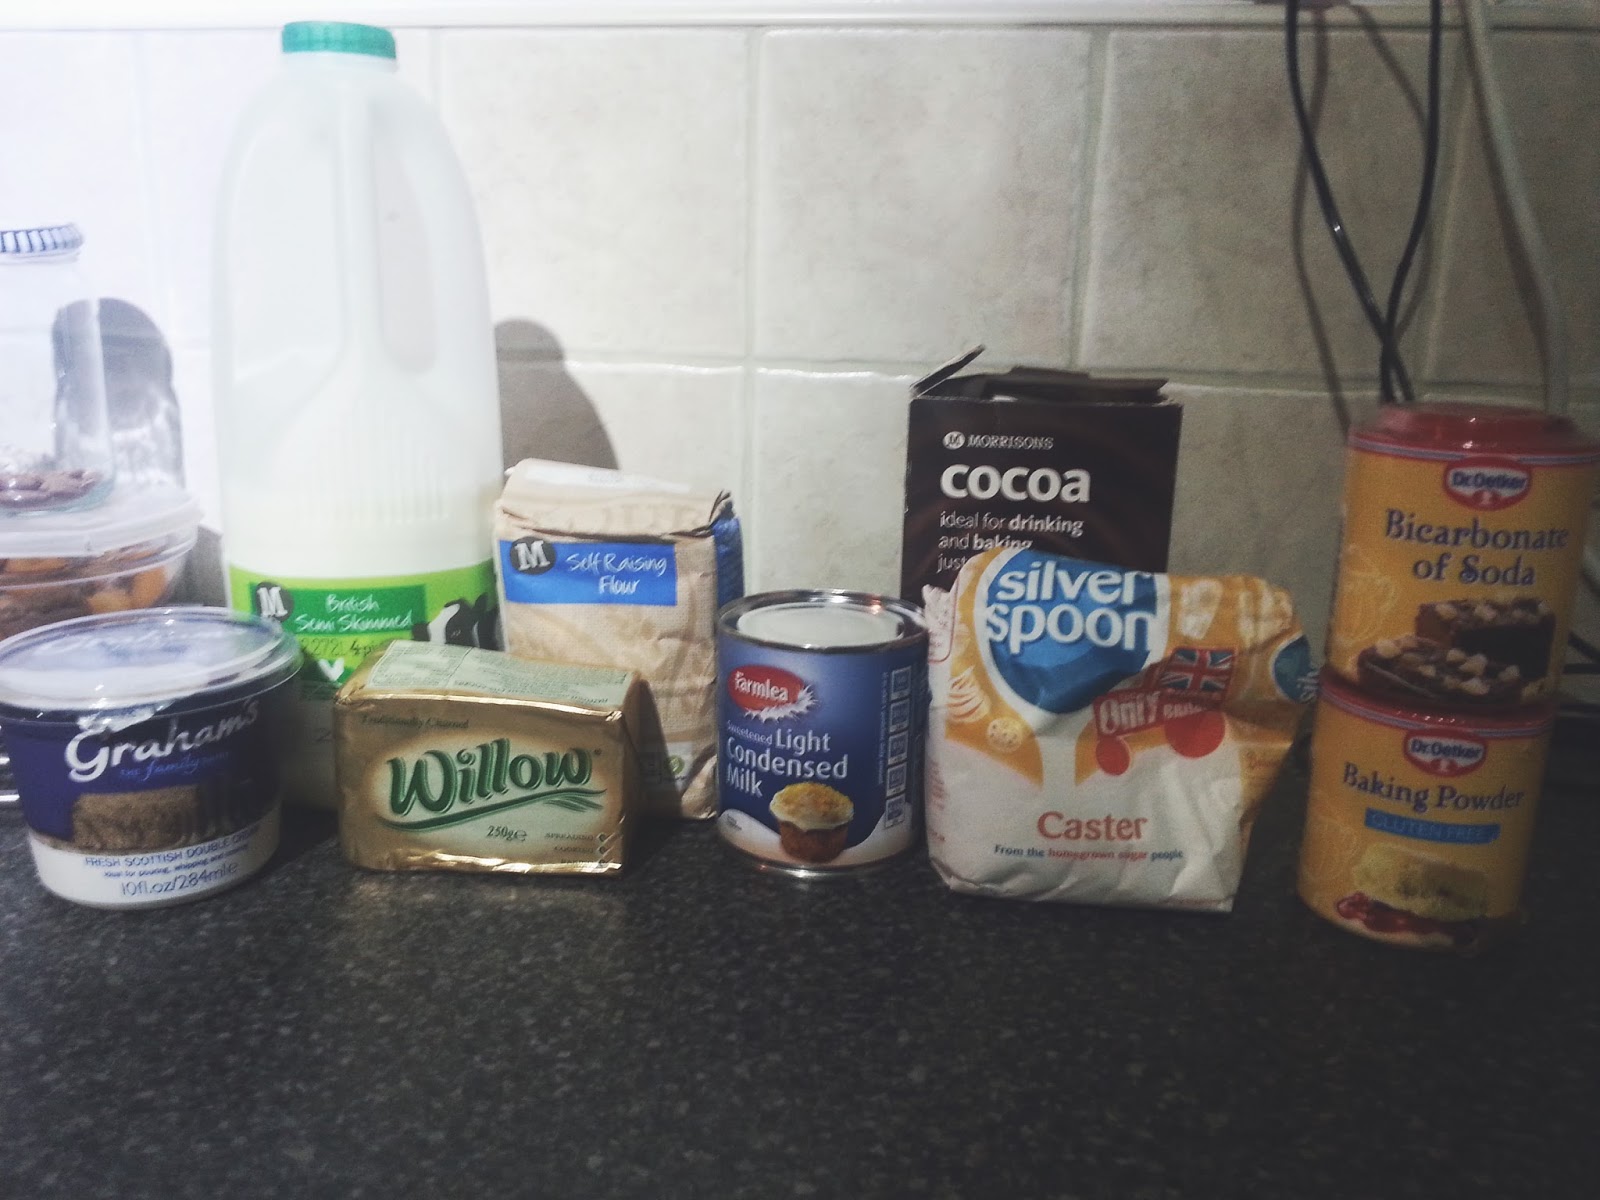
Ingredients 
- Condescend Milk - 1 medium tin
- Flour - 200g
- Butter - 70g
- Milk - 1 Cup
- Baking Powder - 1 tsp
- Bicarb of Soda - 1 tsp
- Double Cream to your desire I used a small pot
- Coca Powder again to your desire I eye balled it! 
Eggless Chocolate Cak

Tools
- Mixing Bowls x2 (one small, and one large)
-Electric Whisk
- Spoons
-Knife (not pictured)
- Weighing Scales
-Baking Tray/Dish

Method
-After you have got all your ingredients out and ready with the tools that you need, we can begin our baking adventure!
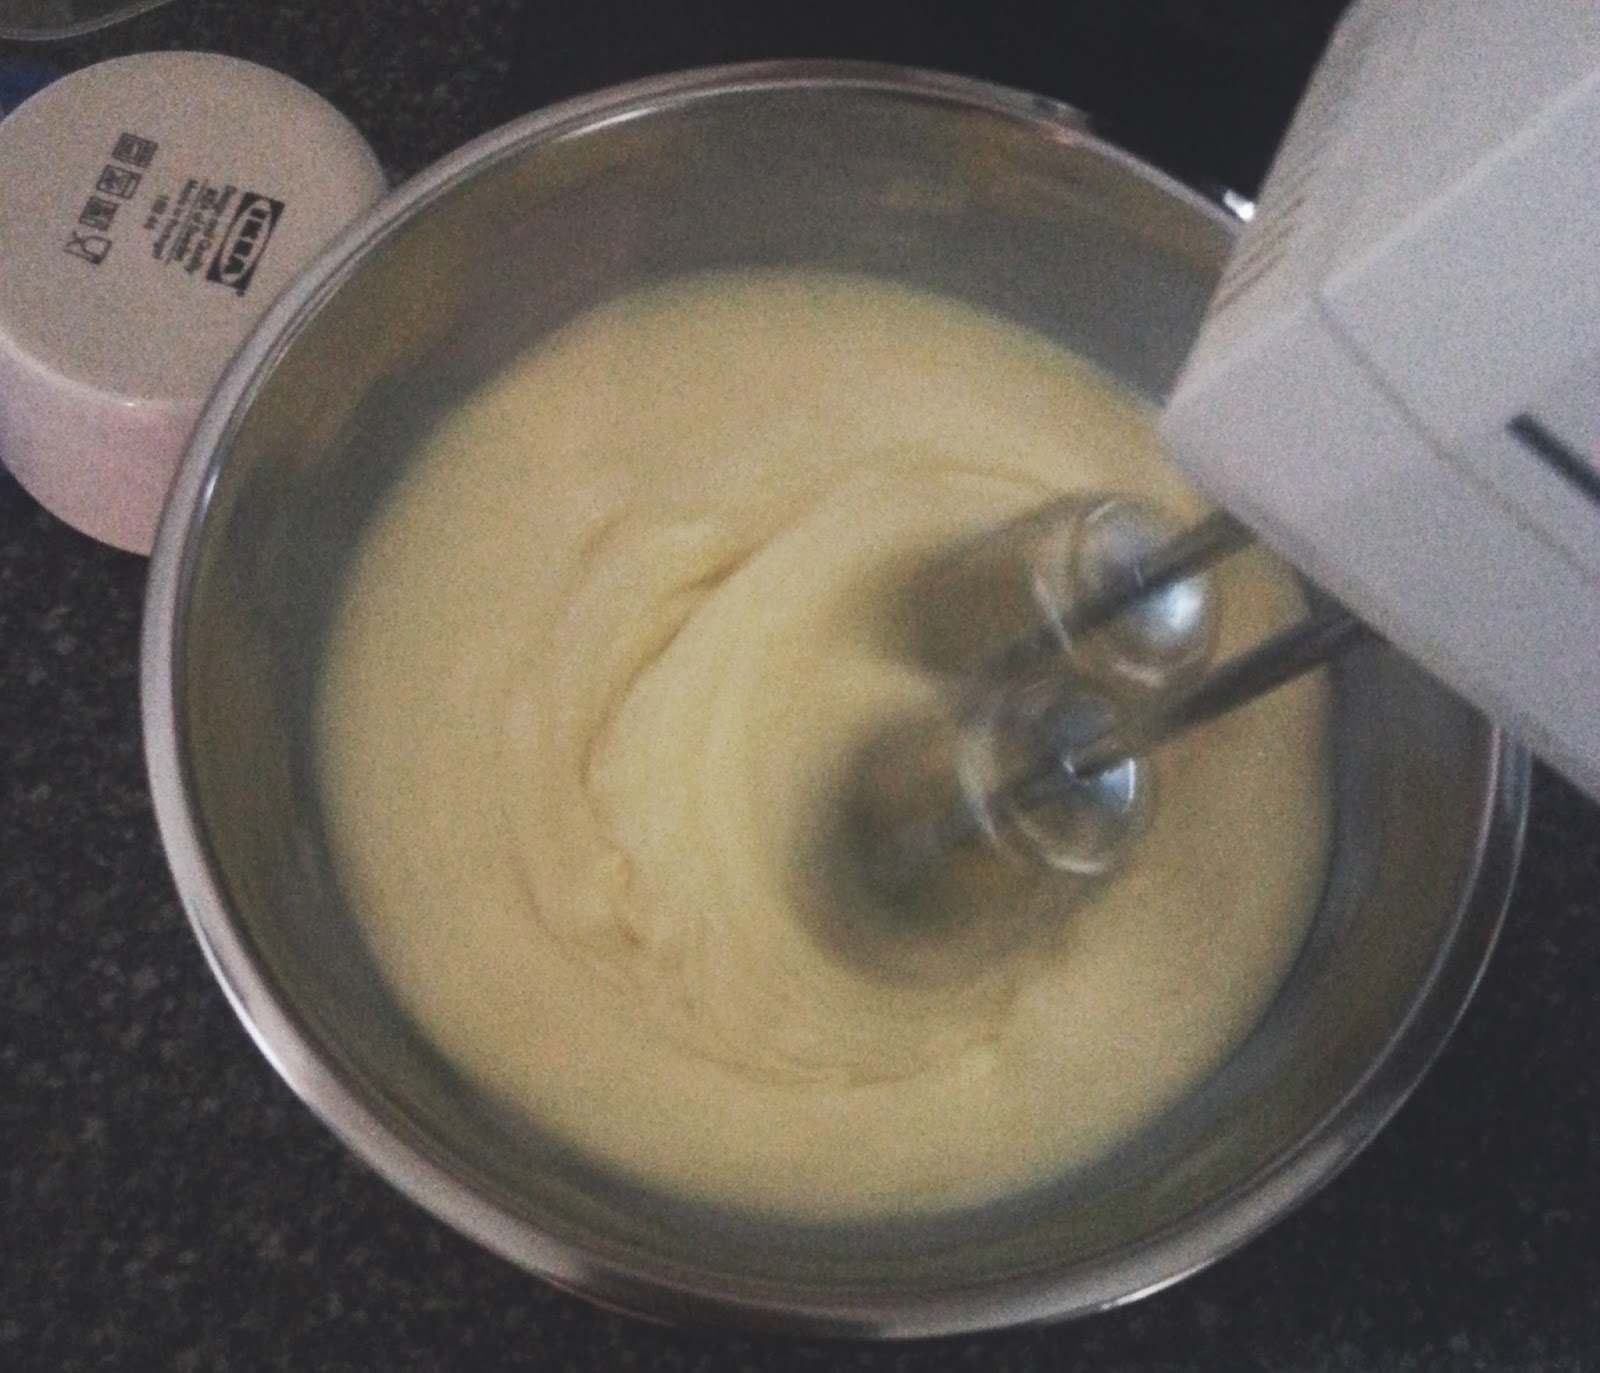
- First thing you need to do is empty out the tin of condensed milk into the larger mixing bowl and put the butter into. On a slow speed start to whisk together both the milk and butter until they are combined. 
Eggless Chocolate Cak

- In the smaller bowl you want to measure out the dry ingredients (flour, baking powder, bicarb of soda, coca powder) and use a spoon to fold them together. 
Eggless Chocolate Cak

- You want to add half of the dry ingredients mixture into the other bowl and whisk together, start on a slow speed and gradually get faster. 
- At this point you also want to switch the oven on at 180/160 
Eggless Chocolate Cak

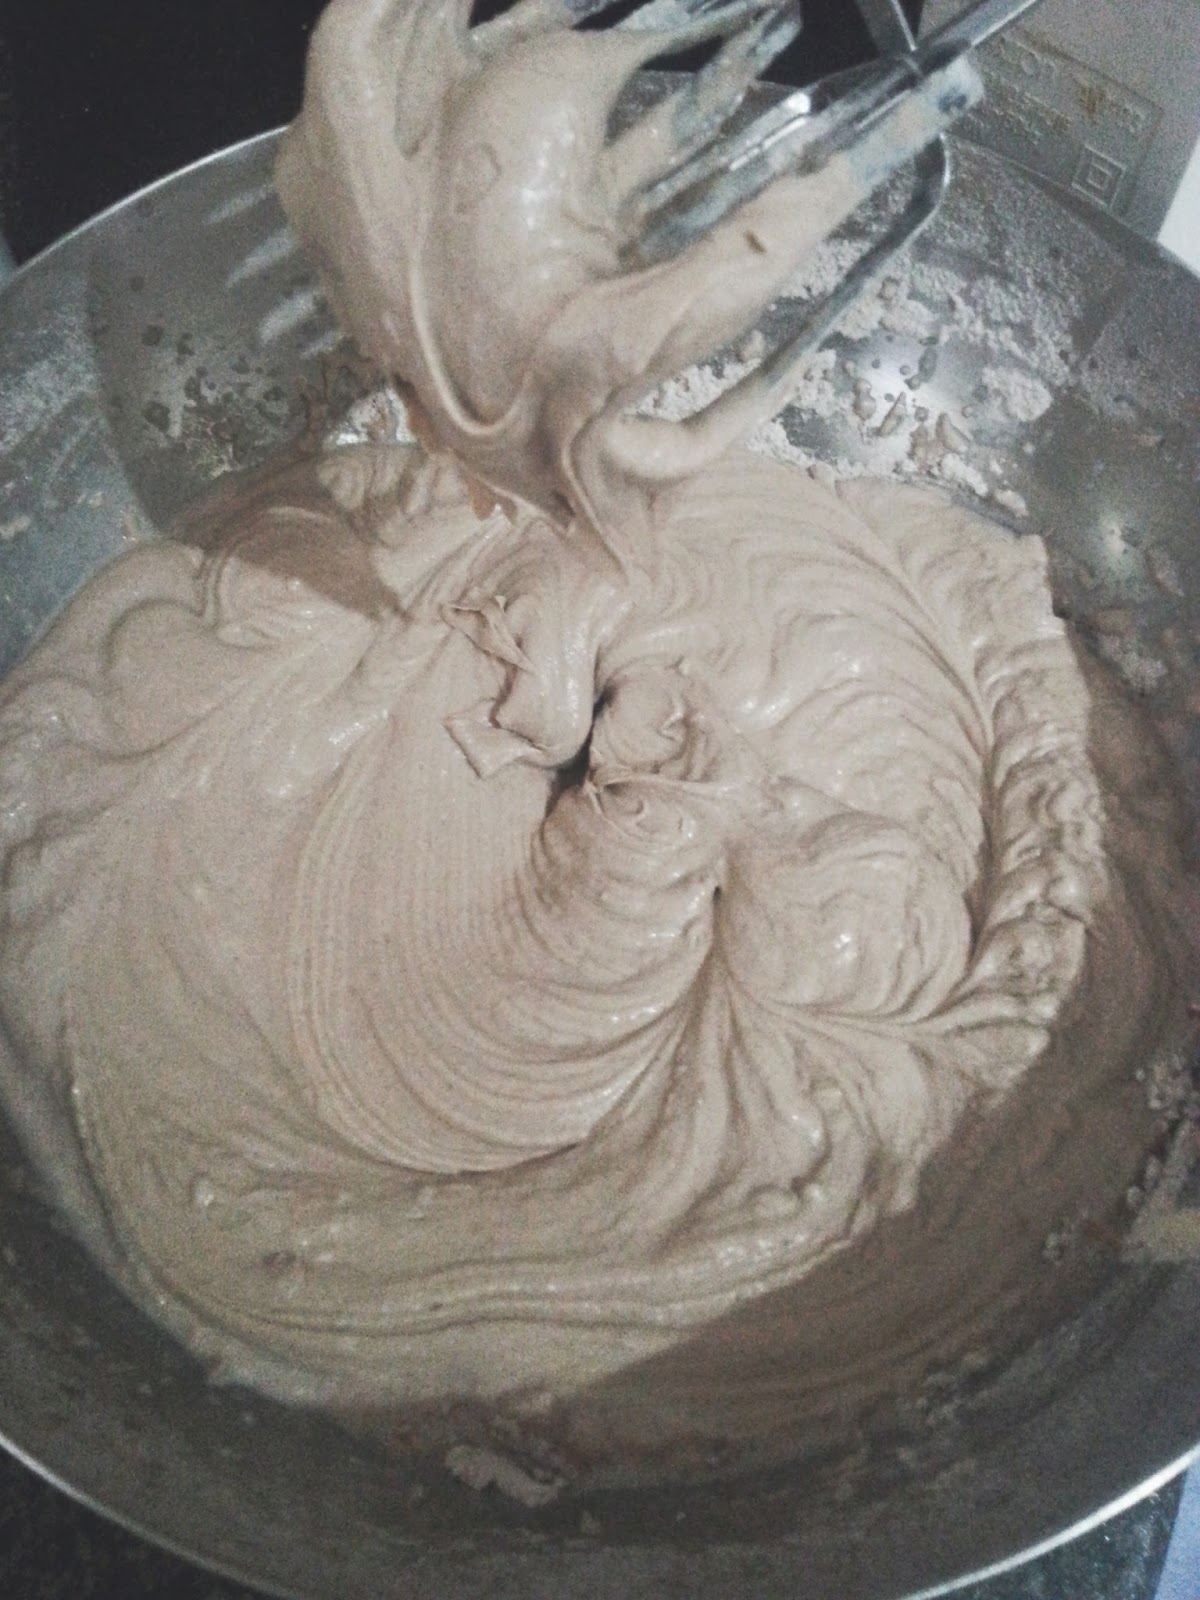
- Add the other half and carry on whisking, the mixture will become thick so don't panic!
- Then to thin it down and make it the right consistency for a cake batter you want to slowly add the cup of milk this will thin down the batter and make it more cake like. 
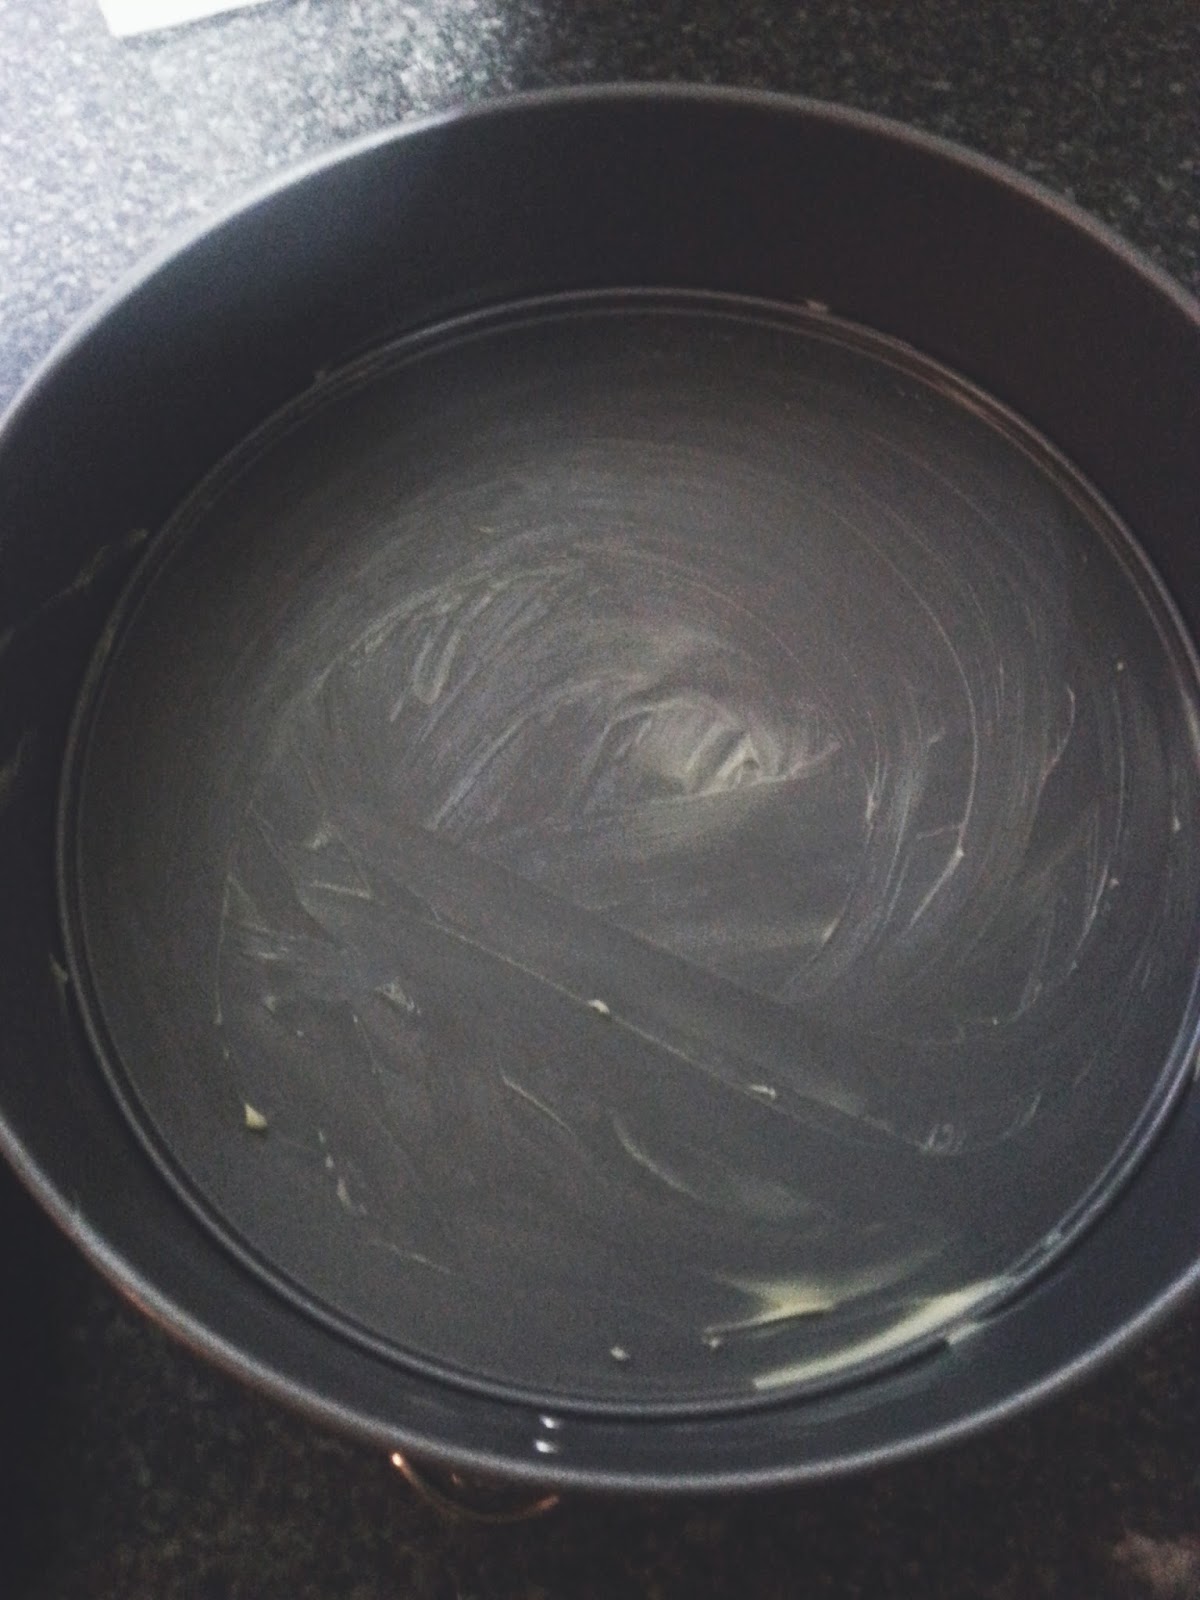
- After this you want to grease your baking dish with some butter to avoid anything sticking and then pour the batter into the dish and spread evenly using the back of a spoon.
Eggless Chocolate Cak

- Pop in the oven for around 30 minutes, or until golden brown and to check whether it is cooked or not stick a knife in slowly and if it comes out clean you are all done!
- I forgot to photograph this but, all you want to do is pour the cream into a bowl/mixing bowl and whisk until thick and then spread on top of your cake or even cut the cake in half and spread like a sandwich. I also didn't manage to take a clear photo of the cake, so just imagine it in your head! 


Hope you enjoyed this post, and let me know if I should carry these things on! xx


Personalised Phone Skin+Free One For You! ♥

If any of you are like me then you love to constantly change up your phone case, I love seeing something different on my lock screen and also the back of my phone. If this is your problem and you want something new and even better..then you need to try a phone skin* from Wrappz.com. 
What is a skin you say?
Wrappz premium vinyl skins are removable adhesive covers for protecting and customizing your Phones, Laptops, Kindles, iPods, iPads, Games Consoles & much more.
You can design your own custom phone skins by uploading your photos and images and even adding text to make it really personal. The possibilities are endless to have personalised phone cases for yourself or as a gift to a loved one!
What I love about these skins is that they are so easy to remove and put back on your phone whenever you feel like changing it up! And it is scratch resistant so they are great for your busy lifestyle!
You can get skins for your Laptops, Consoles, Plug Sockets and even sky tv boxes! 
wrappz.comwrappz.com

I decided to go with one that has a quote on the back, of my favourites and it makes me smile every time I see it. You also have the option to have something on the front if you like, but I decided to go with one on the back only. The parcel also came with instructions for those of you who are a little clueless like me, and they are so easy to follow and you can apply your skin within seconds! Here are some simple steps and a quick guide to help you;
wrappz.com
First things first, you want to select your device I went with my phone as this is what I use majority of the time.
wrappz.com
Then you want to get on with designing your case, to show you as an example I have used the quote. You can also use photos that you have, or even the stock images that Wrappz have already. Scale it ans stretch it to fit the image and follow the tips that come up on the screen. There is also the option for the front of the device if you want! 
Then you want to add it to your cart and buy! I loved the way that my skin came out and am amazed at how easy it was to use and navigate around the site.
The lovely people over at Wrappz are being been SUPER NICE and are giving you the chance to have your own free phone/tablet/ipod skin just hop on over to www.wrappz.com, click on Skins at the top...and select your device. Design your case however you want, make it look really pretty and then click buy! When you get to the check out type in the code below and then all you need to do is pay for delivery, to check out the prices for that click here.  Let me know if you decide to go with one and send me a picture over on twitter or instagram!

*product sent for consideration of review


Pearly's Teeth Whitening Kit||Review ♥

As well as having a pretty face, full of makeup there are always those girls who have something stuck in their teeth or even teeth that have not been brushed enough. Whereas for me my teeth and skin are the most important things to me. Working on my skin at the start of the year; I forgot about my darling teeth! Until I came across the Pearly's Teeth Whitening Kit* which is a weekly and on the go teeth whitening kit so you can brush in a rush (ooh that rhymes!) or even spend a little extra time every morning. 
Pearly's Teeth Whitening Kit

Pearly's Teeth Whitening Kit
This kit* is the answer to all your problems, there are three different steps/things that you can do to achieve whiter teeth. I am not forcing anyone to brush their teeth, nor am I saying anyone needs to whiten their teeth - this is just something that I like to do and looking after my teeth is my business and yours is yours. 
Pearly's Teeth Whitening Kit
In my household we have all been using the different things, to see if it makes a difference.

Powder* - This is the something that you don't have to use everyday, only one or twice a week to really keep a hold of those super clean teeth in between your dental visits. The powder helps with removing any stains or plaque that may have built up and around your teeth. Best used with a electronic toothbrush to really get it to work its magic.
Foam* - The foam is more something you can use everyday, by simply adding a layer of it on top of your brush every time you go to brush your teeth. It will kill the bacteria that is collating and leaves your breathe smells minty fresh!
Pen* - A pen you say? Yes, that is right this whitening pen that can be used on the go. So if you are in a rush to leave the door or even after a meal out and you need something to freshen your mouth and teeth this is the thing for you. You paint an even gel on to the teeth avoiding the gum area, and keep it away from your lips for around 60 seconds this will then make it dry. Rinse, and avoid anything food or drink related for about 30 minutes just to set it in place. and voilĂ  you have instantly whiter teeth!  

Out of all of these I have seen the biggest difference with the foam, after using it daily on top of my everyday toothpaste it has made such a difference to my teeth. It mixes in with my toothpaste so it doesn't really smell a lot and I will carry on using this to really whiten my teeth on a daily basis! 
My dad has used the powder twice now during the past week, and his teeth have improved soo much! Straight away both him and myself saw such a difference, it removed all the dirt and nasty stuff.
As far as the pen goes, I took it along with me at the weekend and it was amazing, I was able to keep my teeth white all the time!


*this product was sent for consideration of review