Cookie Policy
Privacy Policy

Recipe||Eggless Chocolate Cake ♥

Eggless Chocolate Cak


I thought I would mix things up a little bit on my blog and share with you a recipe that I have been using very recently to make a 'Chocolate Cake' but there is something special about this one and that is that it is eggless! My family and I don't keep or eat eggs in the house, so when it comes to baking we substitute things and I have tried so many recipes in the past that have just been to difficult to make or even don't work. There are so many recipes you can find for cakes these days, type want you want to bake in to google and i can guarantee you will find something! I hope that I will be doing more of these recipe style posts in the future, where I basically take you all along with me - enjoy and don't get too hungry!
This recipe can be made not chocolate, by not adding the coca.
Eggless Chocolate Cak

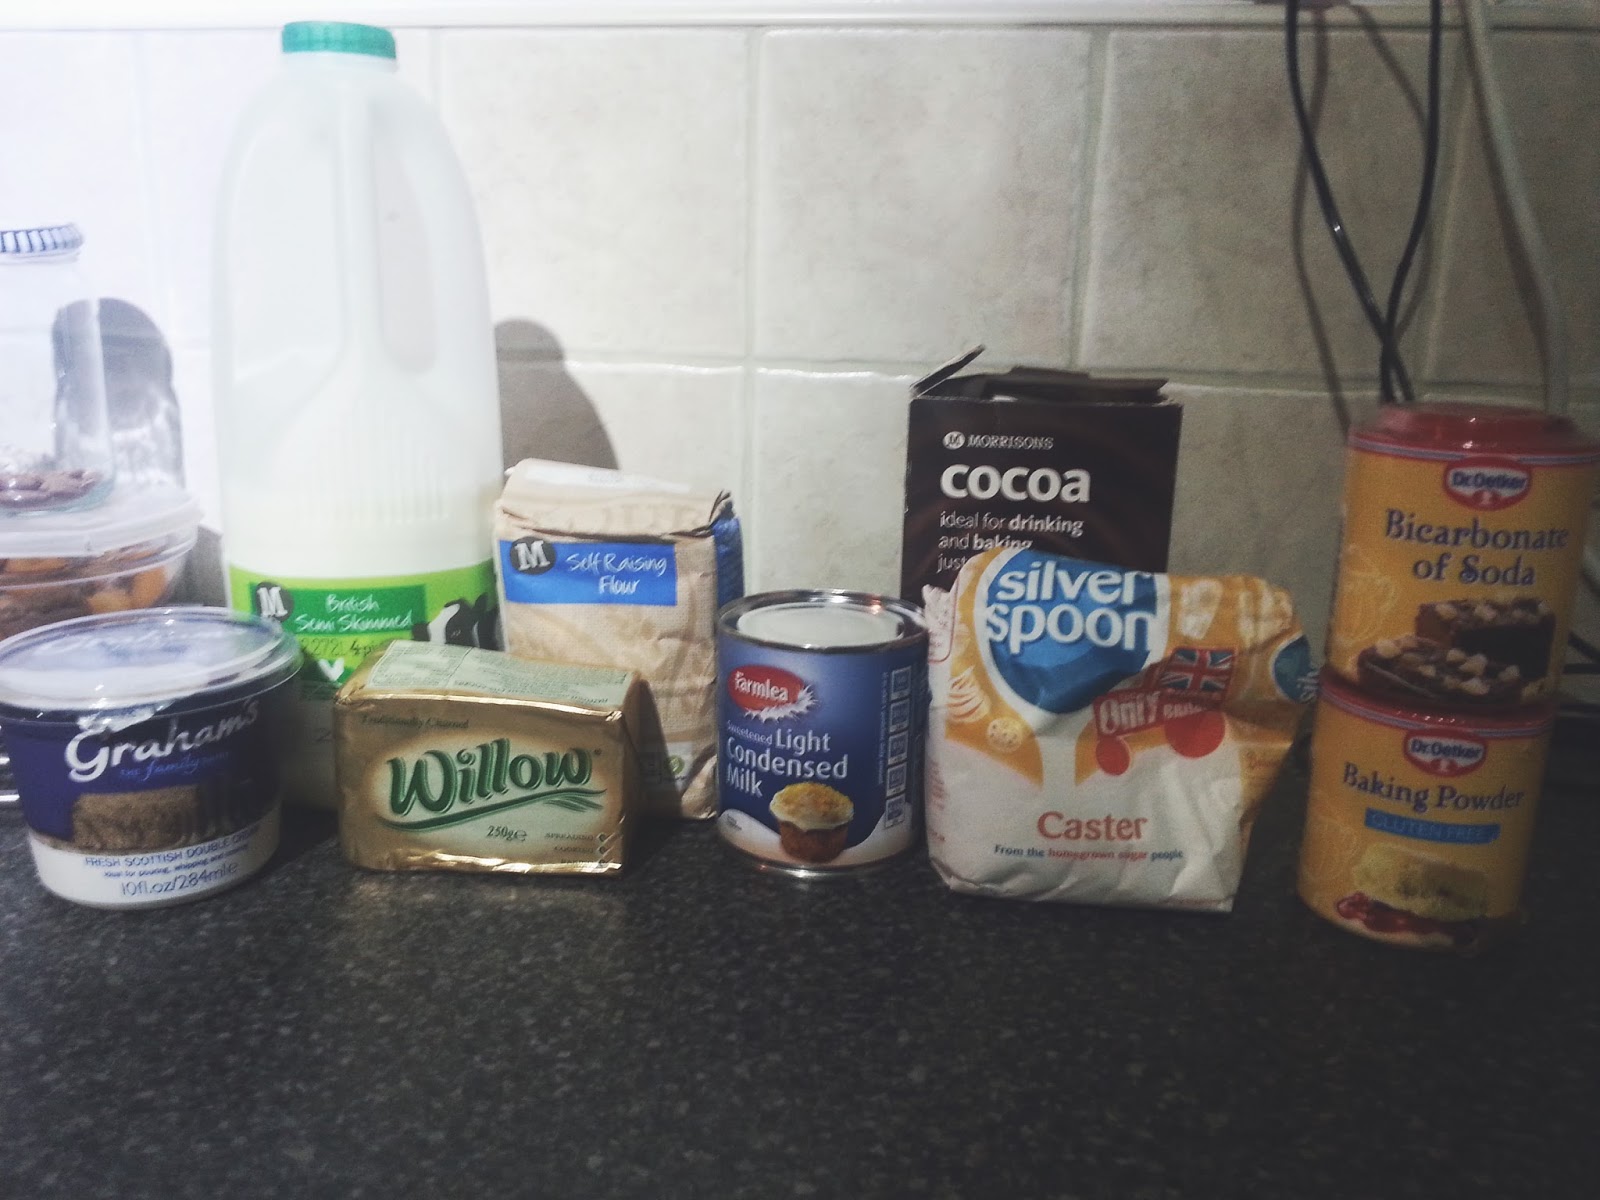
Ingredients 
- Condescend Milk - 1 medium tin
- Flour - 200g
- Butter - 70g
- Milk - 1 Cup
- Baking Powder - 1 tsp
- Bicarb of Soda - 1 tsp
- Double Cream to your desire I used a small pot
- Coca Powder again to your desire I eye balled it! 
Eggless Chocolate Cak

Tools
- Mixing Bowls x2 (one small, and one large)
-Electric Whisk
- Spoons
-Knife (not pictured)
- Weighing Scales
-Baking Tray/Dish

Method
-After you have got all your ingredients out and ready with the tools that you need, we can begin our baking adventure!
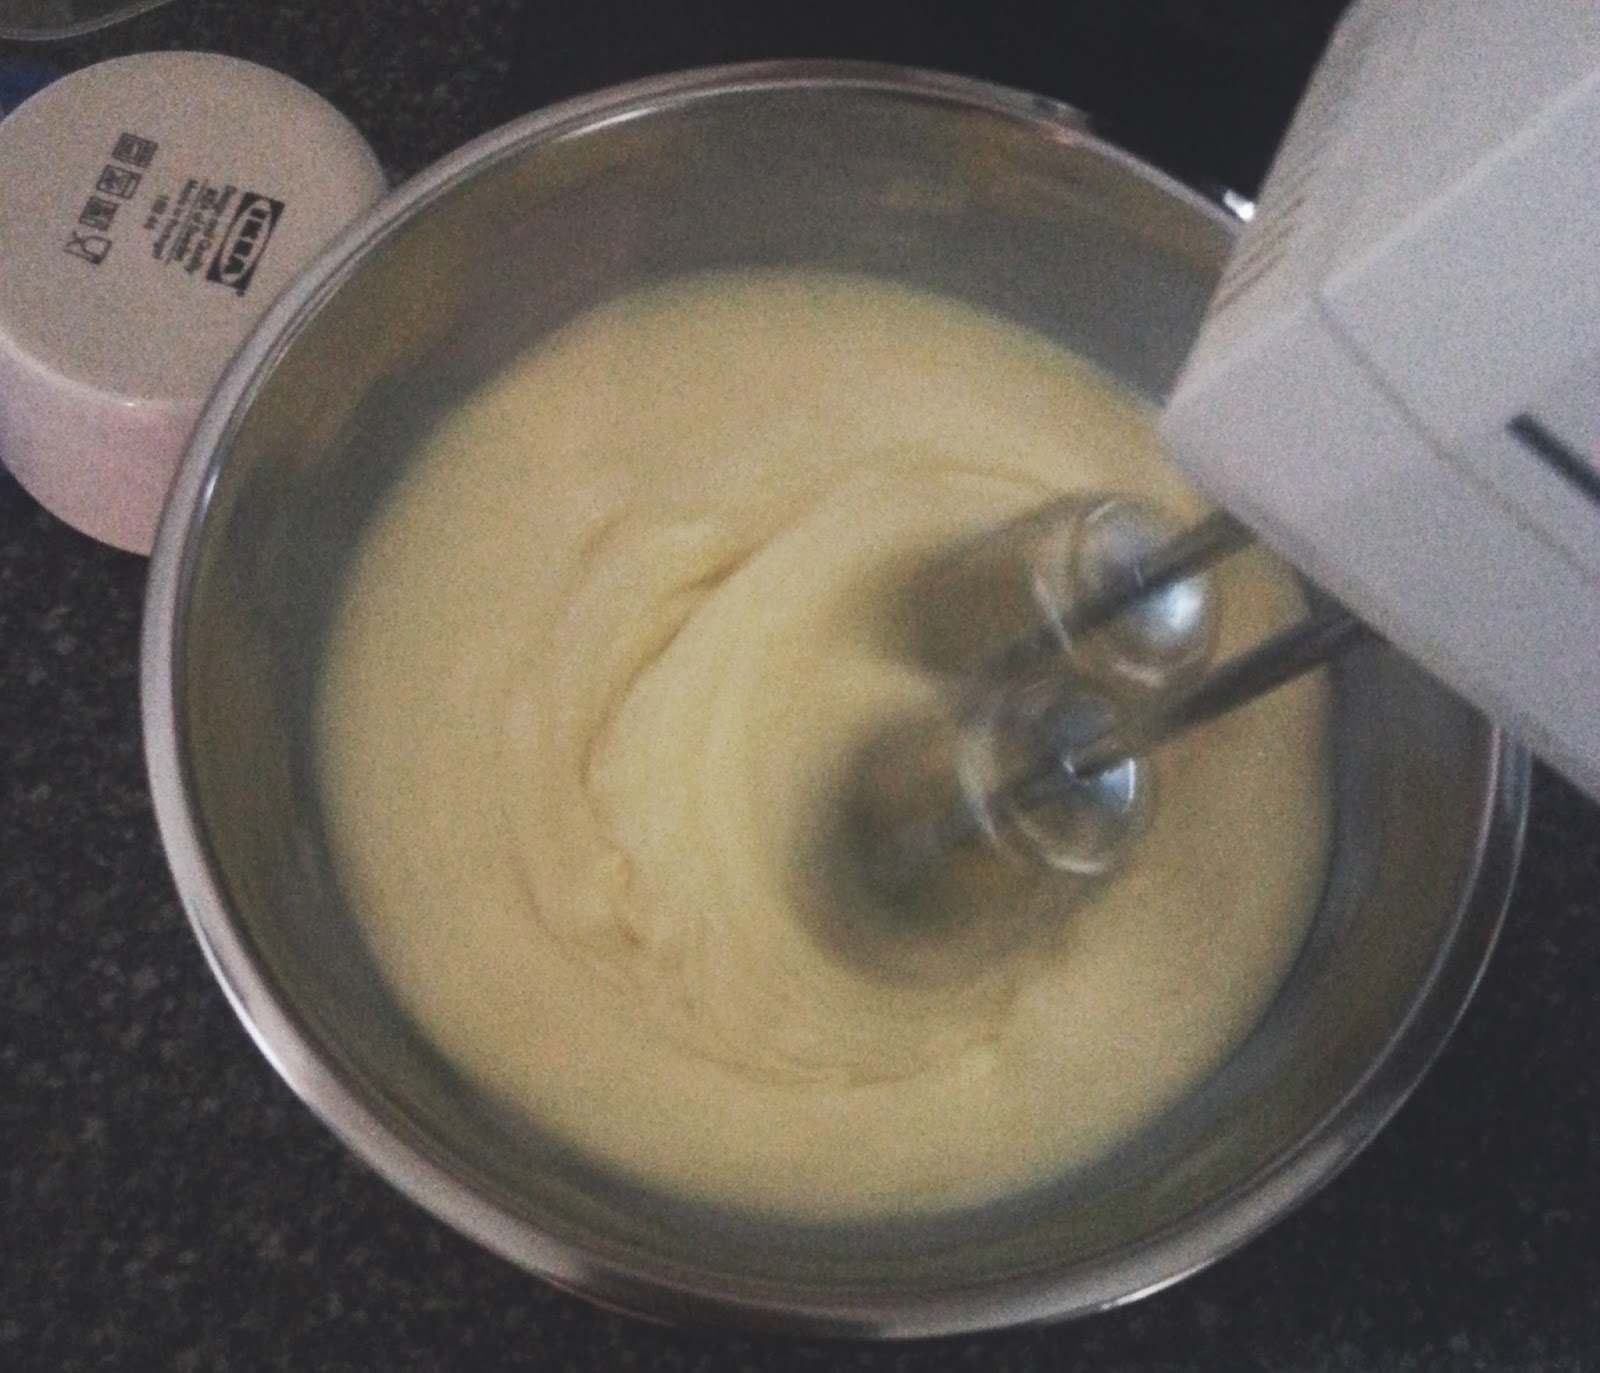
- First thing you need to do is empty out the tin of condensed milk into the larger mixing bowl and put the butter into. On a slow speed start to whisk together both the milk and butter until they are combined. 
Eggless Chocolate Cak

- In the smaller bowl you want to measure out the dry ingredients (flour, baking powder, bicarb of soda, coca powder) and use a spoon to fold them together. 
Eggless Chocolate Cak

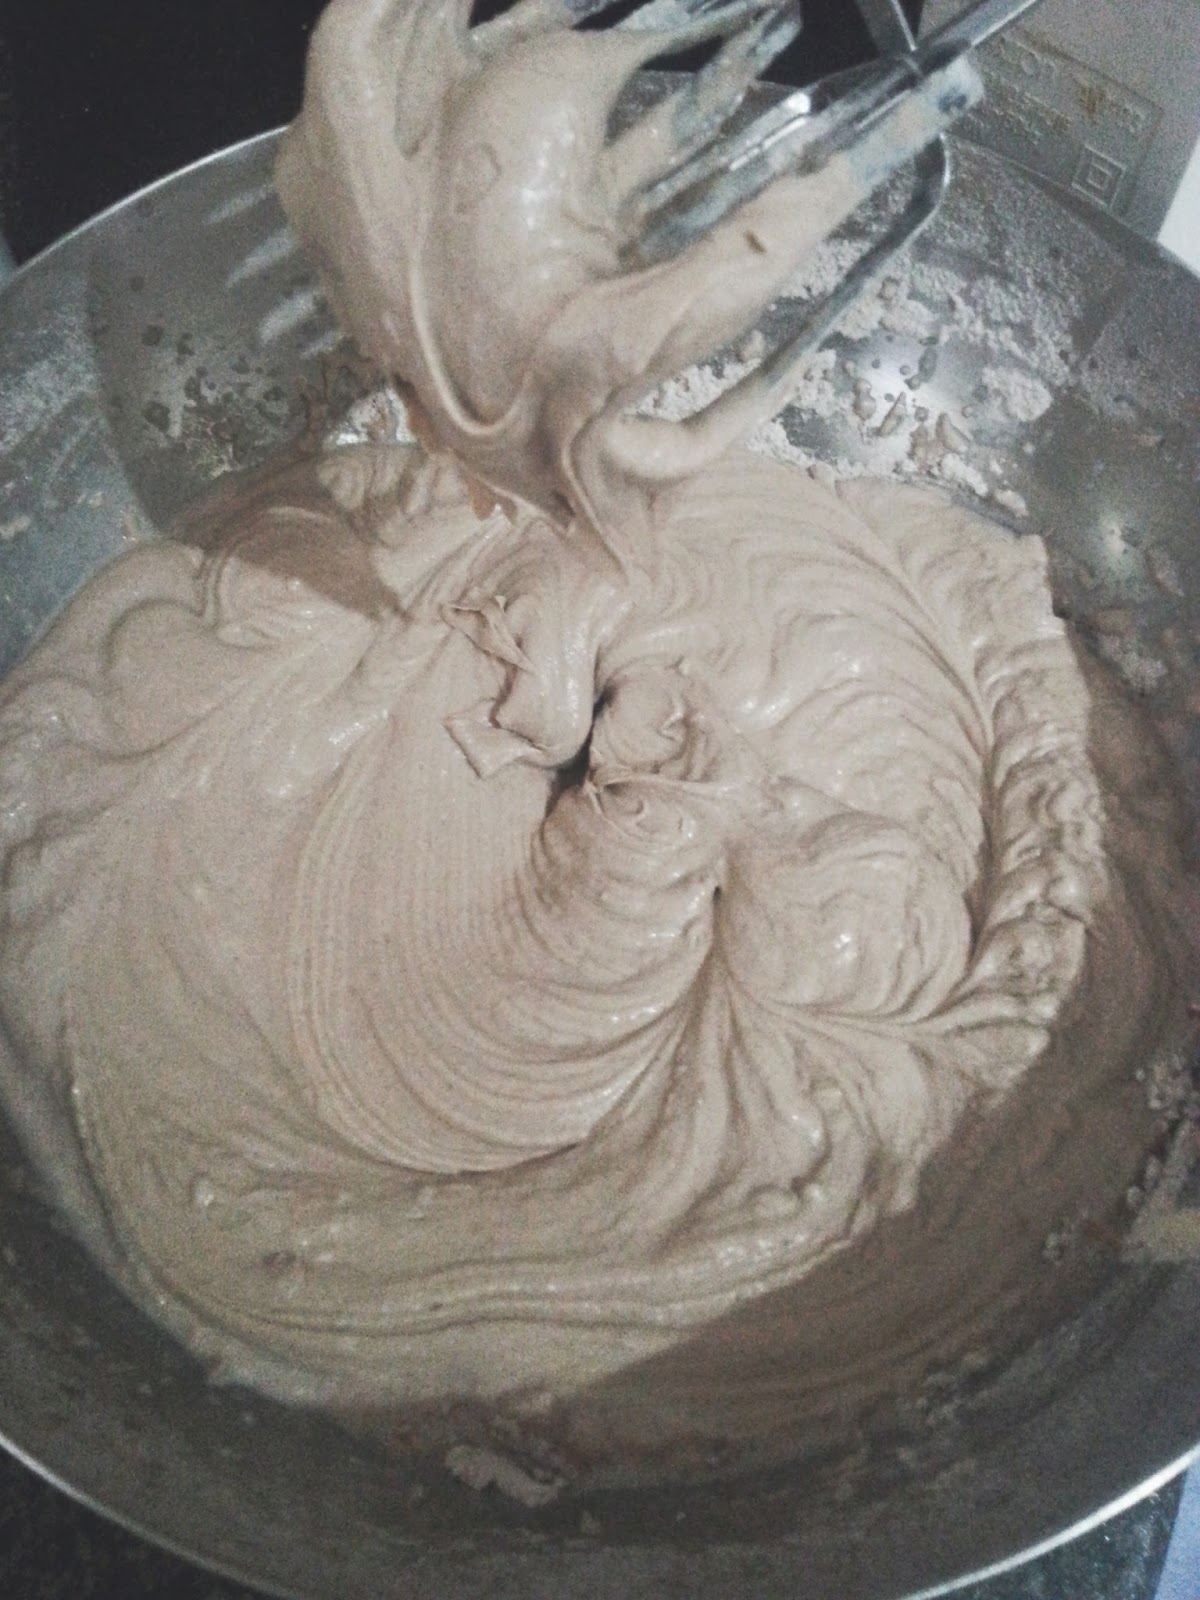
- You want to add half of the dry ingredients mixture into the other bowl and whisk together, start on a slow speed and gradually get faster. 
- At this point you also want to switch the oven on at 180/160 
Eggless Chocolate Cak

- Add the other half and carry on whisking, the mixture will become thick so don't panic!
- Then to thin it down and make it the right consistency for a cake batter you want to slowly add the cup of milk this will thin down the batter and make it more cake like. 
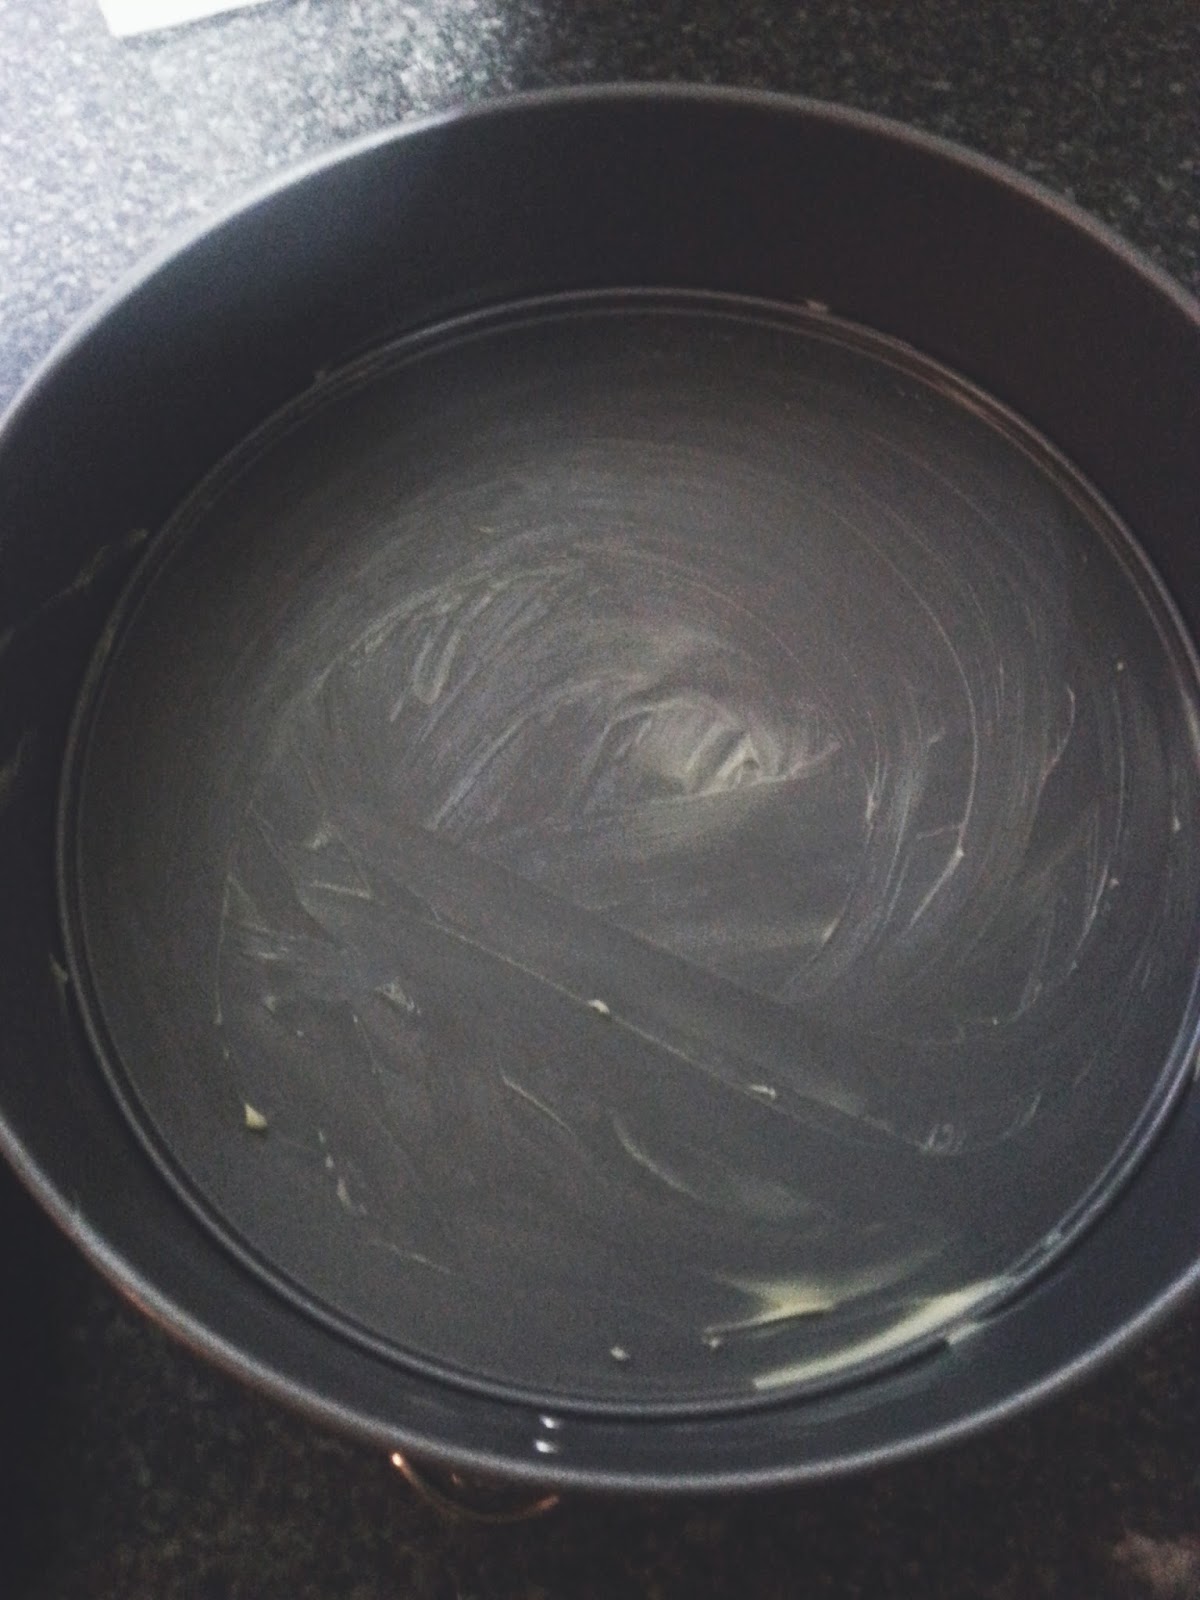
- After this you want to grease your baking dish with some butter to avoid anything sticking and then pour the batter into the dish and spread evenly using the back of a spoon.
Eggless Chocolate Cak

- Pop in the oven for around 30 minutes, or until golden brown and to check whether it is cooked or not stick a knife in slowly and if it comes out clean you are all done!
- I forgot to photograph this but, all you want to do is pour the cream into a bowl/mixing bowl and whisk until thick and then spread on top of your cake or even cut the cake in half and spread like a sandwich. I also didn't manage to take a clear photo of the cake, so just imagine it in your head! 


Hope you enjoyed this post, and let me know if I should carry these things on! xx


Personalised Phone Skin+Free One For You! ♥

If any of you are like me then you love to constantly change up your phone case, I love seeing something different on my lock screen and also the back of my phone. If this is your problem and you want something new and even better..then you need to try a phone skin* from Wrappz.com. 
What is a skin you say?
Wrappz premium vinyl skins are removable adhesive covers for protecting and customizing your Phones, Laptops, Kindles, iPods, iPads, Games Consoles & much more.
You can design your own custom phone skins by uploading your photos and images and even adding text to make it really personal. The possibilities are endless to have personalised phone cases for yourself or as a gift to a loved one!
What I love about these skins is that they are so easy to remove and put back on your phone whenever you feel like changing it up! And it is scratch resistant so they are great for your busy lifestyle!
You can get skins for your Laptops, Consoles, Plug Sockets and even sky tv boxes! 
wrappz.comwrappz.com

I decided to go with one that has a quote on the back, of my favourites and it makes me smile every time I see it. You also have the option to have something on the front if you like, but I decided to go with one on the back only. The parcel also came with instructions for those of you who are a little clueless like me, and they are so easy to follow and you can apply your skin within seconds! Here are some simple steps and a quick guide to help you;
wrappz.com
First things first, you want to select your device I went with my phone as this is what I use majority of the time.
wrappz.com
Then you want to get on with designing your case, to show you as an example I have used the quote. You can also use photos that you have, or even the stock images that Wrappz have already. Scale it ans stretch it to fit the image and follow the tips that come up on the screen. There is also the option for the front of the device if you want! 
Then you want to add it to your cart and buy! I loved the way that my skin came out and am amazed at how easy it was to use and navigate around the site.
The lovely people over at Wrappz are being been SUPER NICE and are giving you the chance to have your own free phone/tablet/ipod skin just hop on over to www.wrappz.com, click on Skins at the top...and select your device. Design your case however you want, make it look really pretty and then click buy! When you get to the check out type in the code below and then all you need to do is pay for delivery, to check out the prices for that click here.  Let me know if you decide to go with one and send me a picture over on twitter or instagram!

*product sent for consideration of review


Pearly's Teeth Whitening Kit||Review ♥

As well as having a pretty face, full of makeup there are always those girls who have something stuck in their teeth or even teeth that have not been brushed enough. Whereas for me my teeth and skin are the most important things to me. Working on my skin at the start of the year; I forgot about my darling teeth! Until I came across the Pearly's Teeth Whitening Kit* which is a weekly and on the go teeth whitening kit so you can brush in a rush (ooh that rhymes!) or even spend a little extra time every morning. 
Pearly's Teeth Whitening Kit

Pearly's Teeth Whitening Kit
This kit* is the answer to all your problems, there are three different steps/things that you can do to achieve whiter teeth. I am not forcing anyone to brush their teeth, nor am I saying anyone needs to whiten their teeth - this is just something that I like to do and looking after my teeth is my business and yours is yours. 
Pearly's Teeth Whitening Kit
In my household we have all been using the different things, to see if it makes a difference.

Powder* - This is the something that you don't have to use everyday, only one or twice a week to really keep a hold of those super clean teeth in between your dental visits. The powder helps with removing any stains or plaque that may have built up and around your teeth. Best used with a electronic toothbrush to really get it to work its magic.
Foam* - The foam is more something you can use everyday, by simply adding a layer of it on top of your brush every time you go to brush your teeth. It will kill the bacteria that is collating and leaves your breathe smells minty fresh!
Pen* - A pen you say? Yes, that is right this whitening pen that can be used on the go. So if you are in a rush to leave the door or even after a meal out and you need something to freshen your mouth and teeth this is the thing for you. You paint an even gel on to the teeth avoiding the gum area, and keep it away from your lips for around 60 seconds this will then make it dry. Rinse, and avoid anything food or drink related for about 30 minutes just to set it in place. and voilĂ  you have instantly whiter teeth!  

Out of all of these I have seen the biggest difference with the foam, after using it daily on top of my everyday toothpaste it has made such a difference to my teeth. It mixes in with my toothpaste so it doesn't really smell a lot and I will carry on using this to really whiten my teeth on a daily basis! 
My dad has used the powder twice now during the past week, and his teeth have improved soo much! Straight away both him and myself saw such a difference, it removed all the dirt and nasty stuff.
As far as the pen goes, I took it along with me at the weekend and it was amazing, I was able to keep my teeth white all the time!


*this product was sent for consideration of review 


The Essentials; Desk ♥

After my post on what I keep by my beside, which you can read here...I decided to do a desk version along with a few more coming up in the next few weeks all under the title 'The Essentials..'. Taking you around the most important parts of my desk (not the messy parts)
The Essentials; Desk
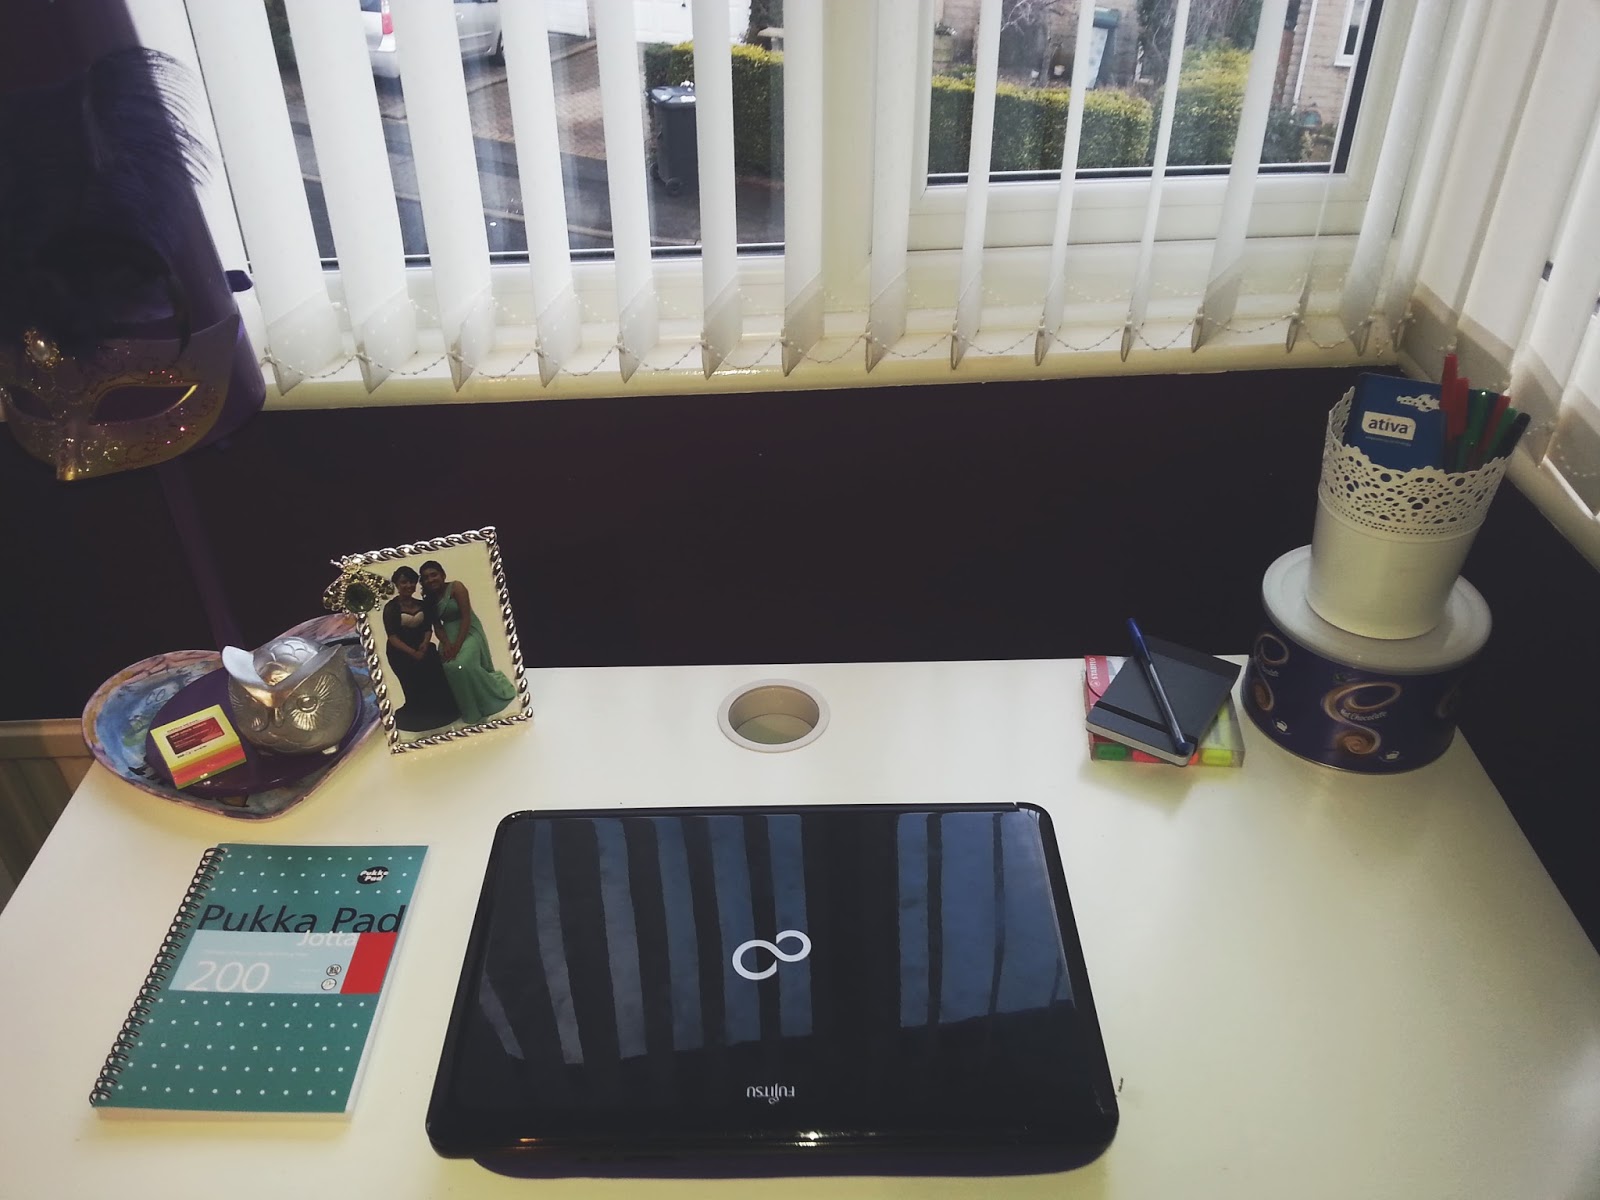
Here is a birds eye view of my desk, it is from Ikea and comes in many other colours as well as white, I like this one as you can see that it has different sections and I like to be a organised freak and keep everything sectioned up. I won't be showing you the draw on the left and the cupboard underneath as it is a state full of school stuff! 

The Essentials; Desk
Here is a birds eye view of the top of my desk, which is where all the 'magic' happens! I sit here and blog, write, read as well as do all my homework therefore I keep it as tidy as I can so that everything is at hand. My desk is also the first thing you kind of see when you enter my room so I like it to look pretty and cute! 
The Essentials; Desk
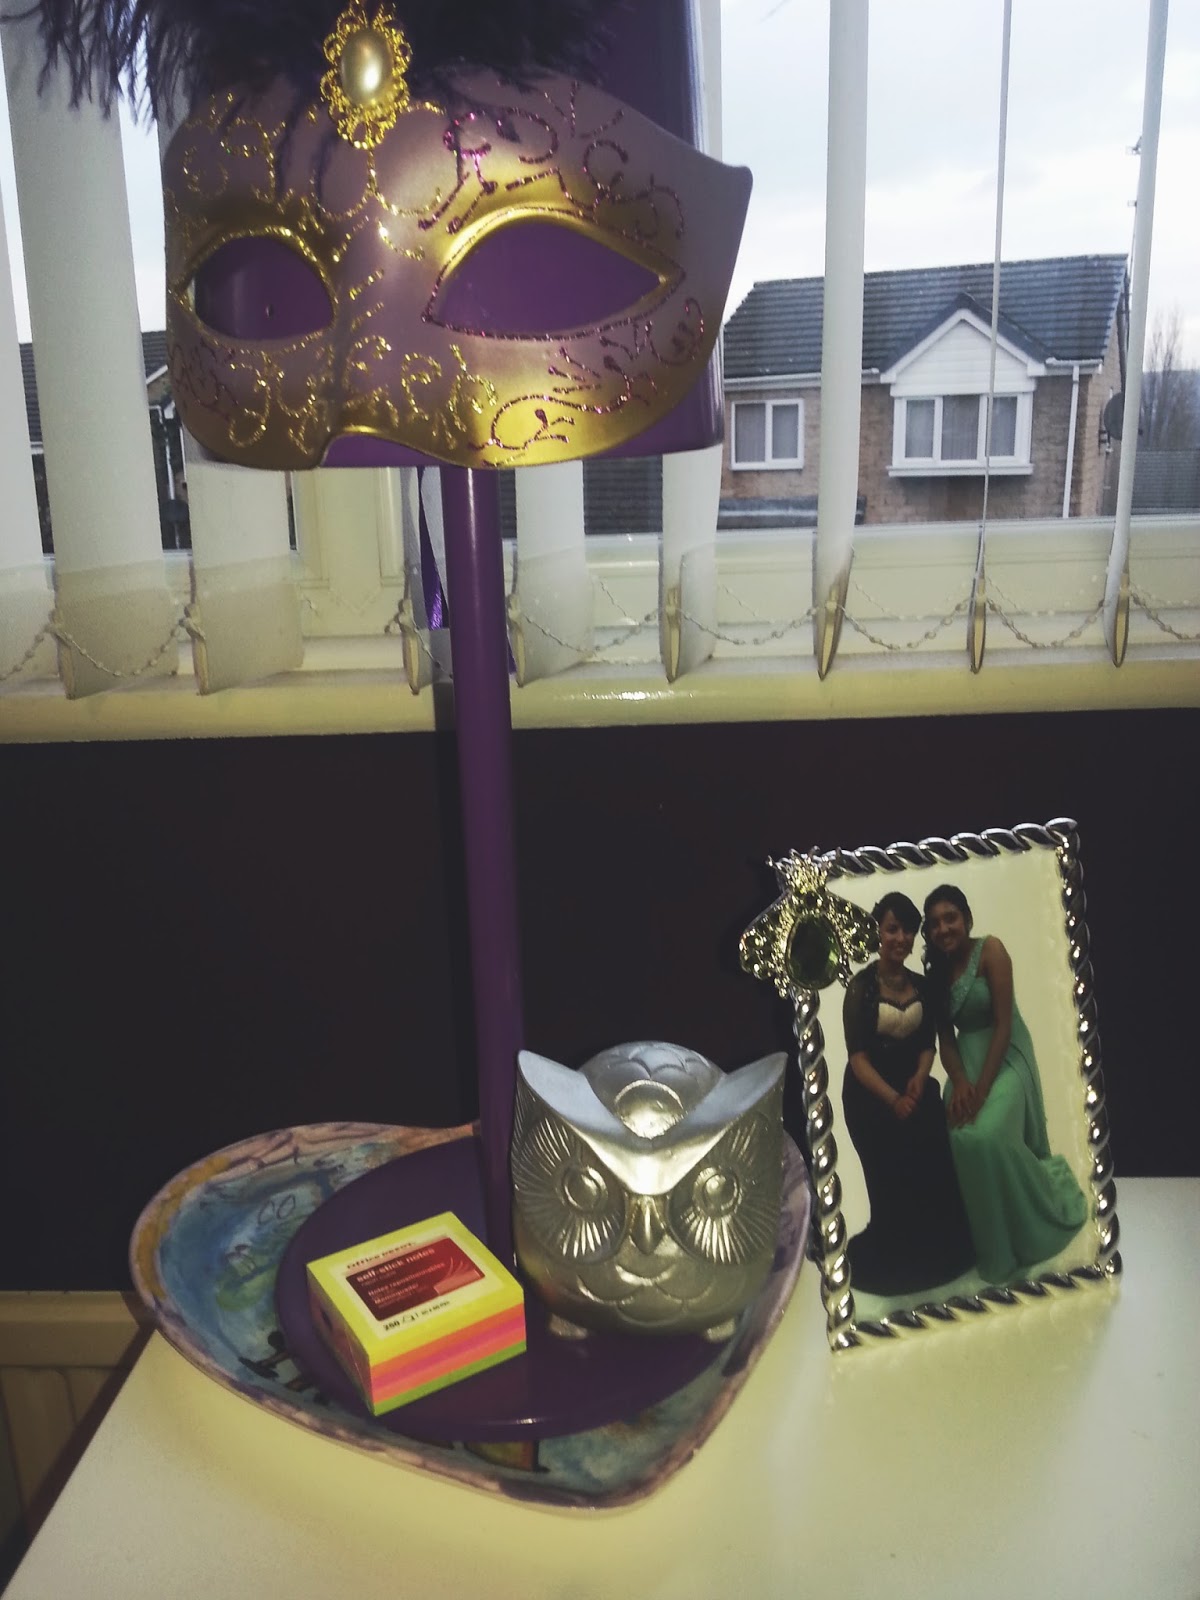
Let's start on the left hand side, I have this lamp from Ikea that I love switching on at night as it lights up my room. I received this beautiful mask from a good friend and it fits my whole room colour scheme of 'purple', this is standing on a plate that I decorated when I was very young! The owl ornament is something I bought at Christmas time from Store Twenty One and love how scary and pretty it looks at the same time, it used to be to hold down some papers but now I love it on its own. Next to this small but deadly owl is a pack of sticky notes, which are a absolute life saver in my opinion. There are a endless list of things you can do with them such as writing down things you need to remember to do, or even write a motivational quote down and then read it when you are working. 
The photo frame to the side of this, is of me and my bestie Aamira from prom that she got for me for Christmas and I love having on my desk as it constantly makes me smile! 
The Essentials; Desk
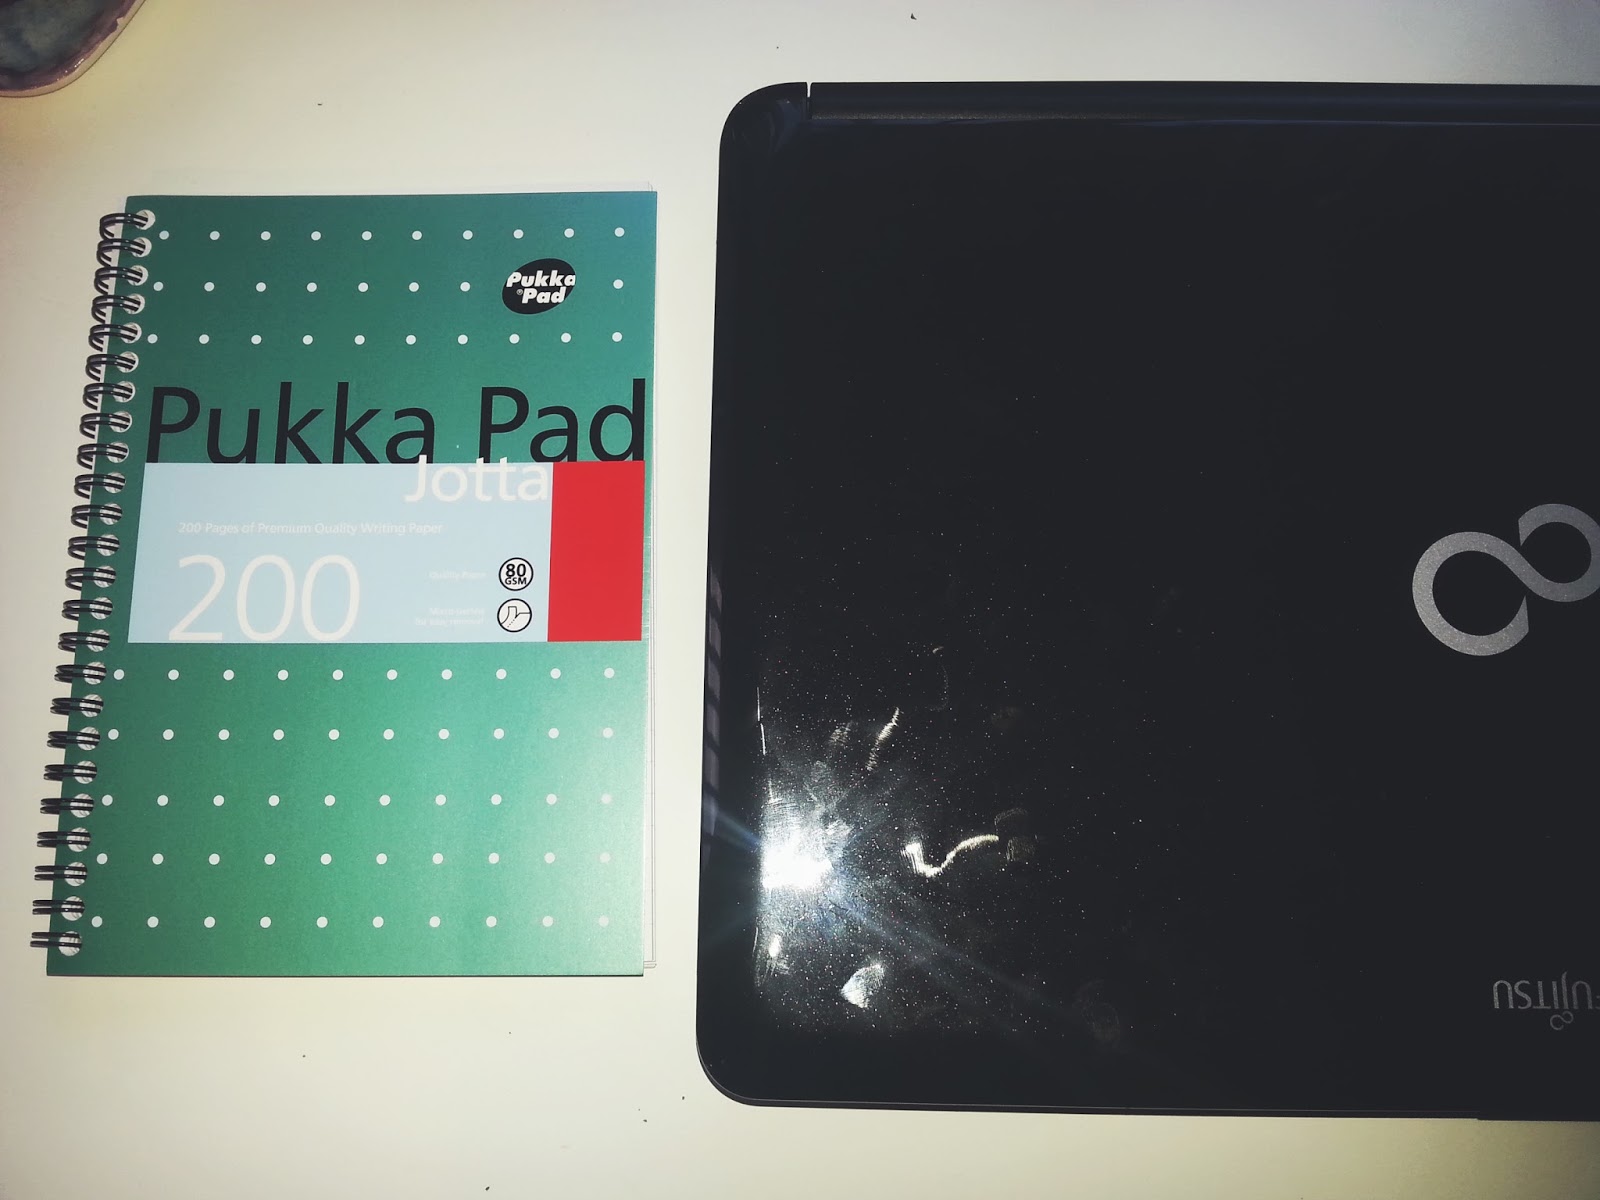
Then we move to the centre part of my desk, where I have my laptop - or in other words my life. Without this little heavy, hot machinery I would not be able to survive. I am always needing it to do some blogging, homework, or even just browsing the internet. Next to it I have a Pukka Pad I am a list making freak and having this by my side is great as I can write down any tasks I need to do, or even any ideas that I have when it comes to blogging. 
The Essentials; Desk
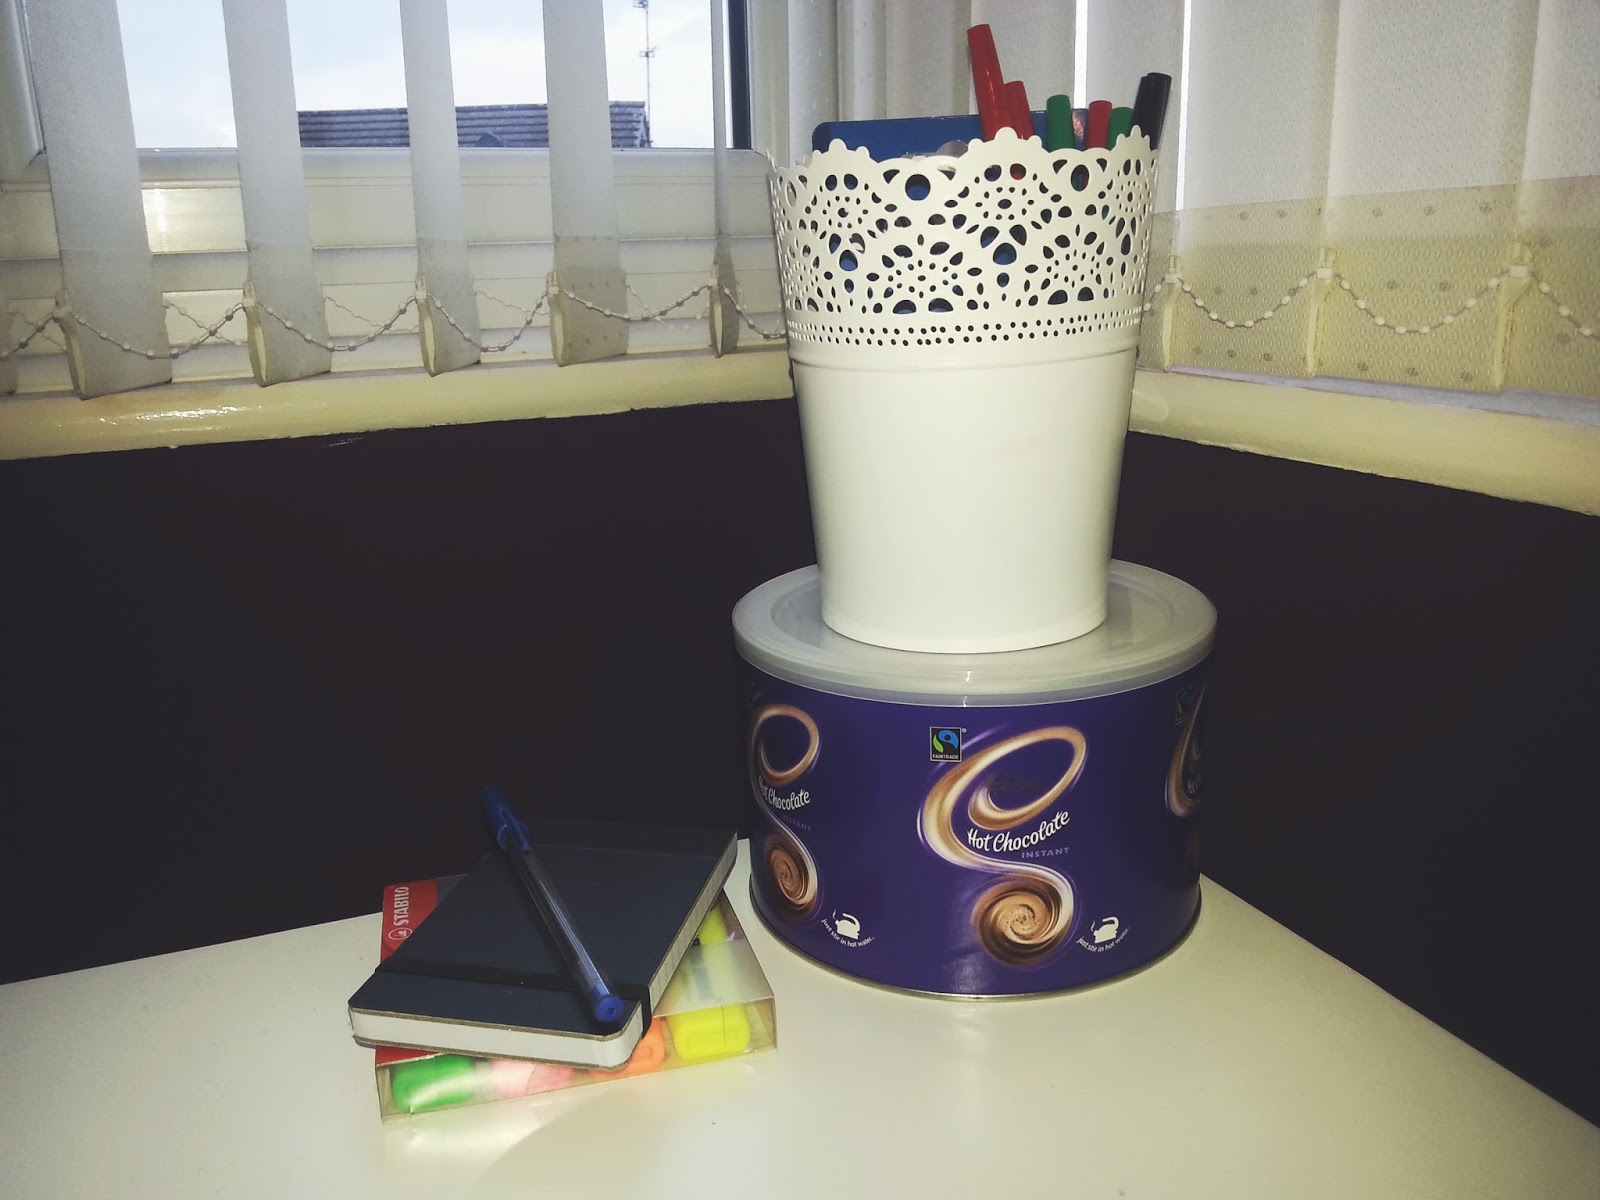
As we move towards the right of my desk, we have the cute section in my opinion. I have some highlighters as I am always needing them for revision or even note taking as it makes everything look a lot more comfortable!  On top of that I have a small notepad that is the easiest thing I have ever discovered, thanks to this I can now carry something around in all of my bags so if I ever remember anything, it is easier to note things down. Then we have a big pot of Cadbury's hot chocolate; which it just a guilty pleasure of mine. I have recently been loving to have a cup of hot coca with some cream and it keeps me going when I am hard at work.
The Essentials; Desk
Then on top of the treat box, I have a plant pot from Ikea that I have decided to use for something else as it is such a multi functional product. I currently have another for lip glosses and in this one I store some paper clips, rubber bands, biro pens and a memory stick for all my school work - which makes life easier as I am always needing to save work. 
The Essentials; Desk
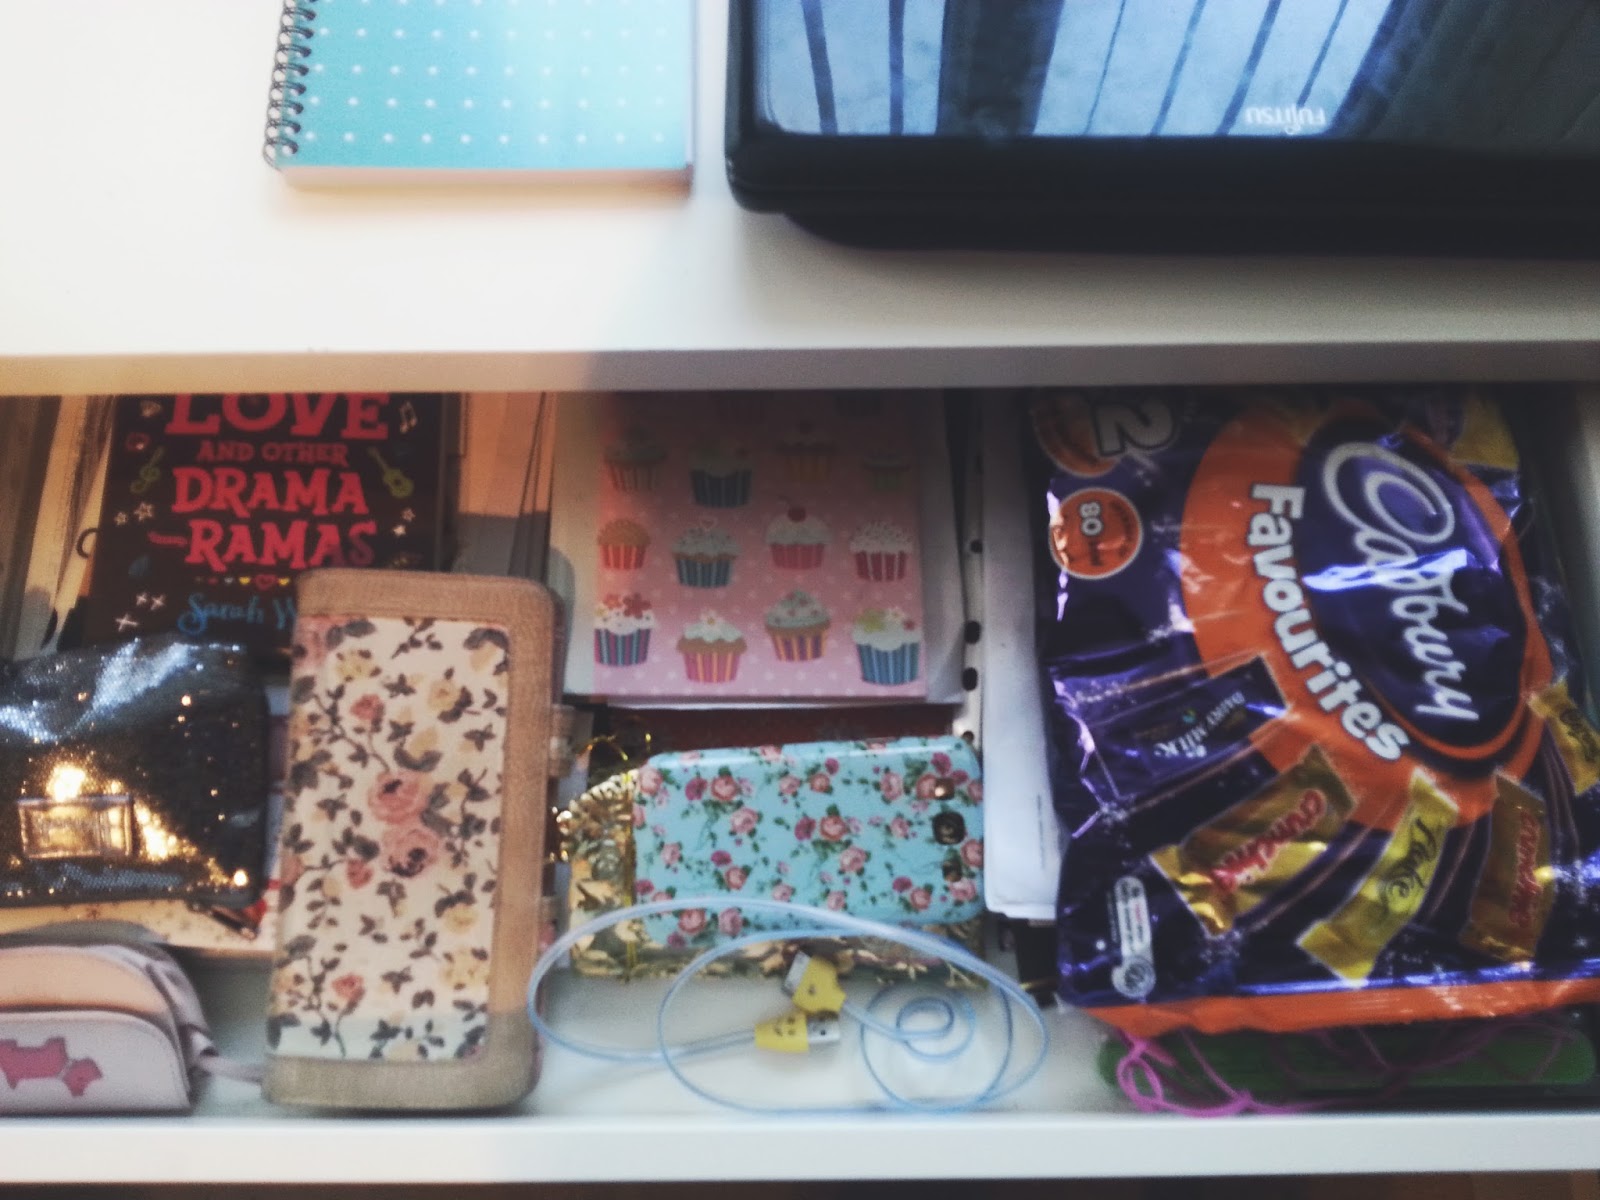
This draw is the one I use the most and is the tidiest of them all. In here I keep my purse, phone, cables and little bits of pieces. As well as some cheeky chocolate to have with that cup of hot chocolate after a long night. I like to keep my desk as organised as I can so that it is easier to find things when I need them. 

To buy all off my essentials, be sure to check out Viking where you can buy everything you need to give your desk a makeover and even colour co-ordinate everything! 

Hope you enjoyed this post and look out for more posts like this! 


*post in collaboration with Viking-